


For so many teachers, our classroom is our second home. Think about it–eight hours a day, five days a week, for 36ish weeks a year? If we spend that much time in our classrooms, they should be spaces that make us feel good! We don’t want to feel cluttered or overwhelmed. We don’t want our students to feel overwhelmed, either. Managing the day-to-day materials we need in our classrooms may seem a daunting task. However, music classroom organization is not an elaborate plan that costs a ton of money. There are simple, effective ways to conquer the clutter and create organizational solutions that work for you and your students.
Organizing Instruments
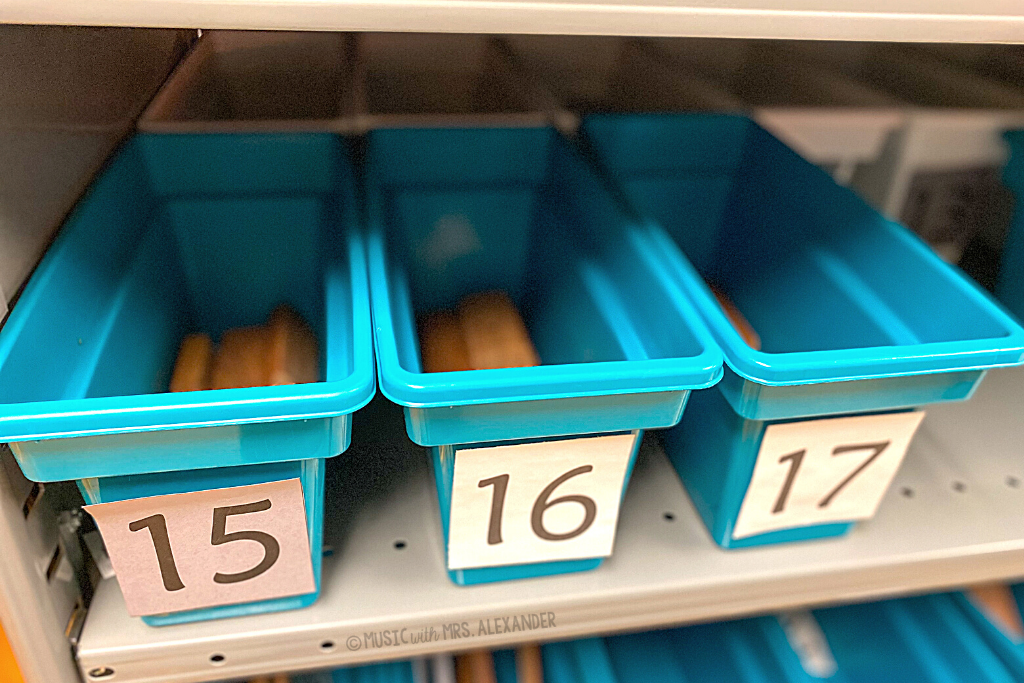
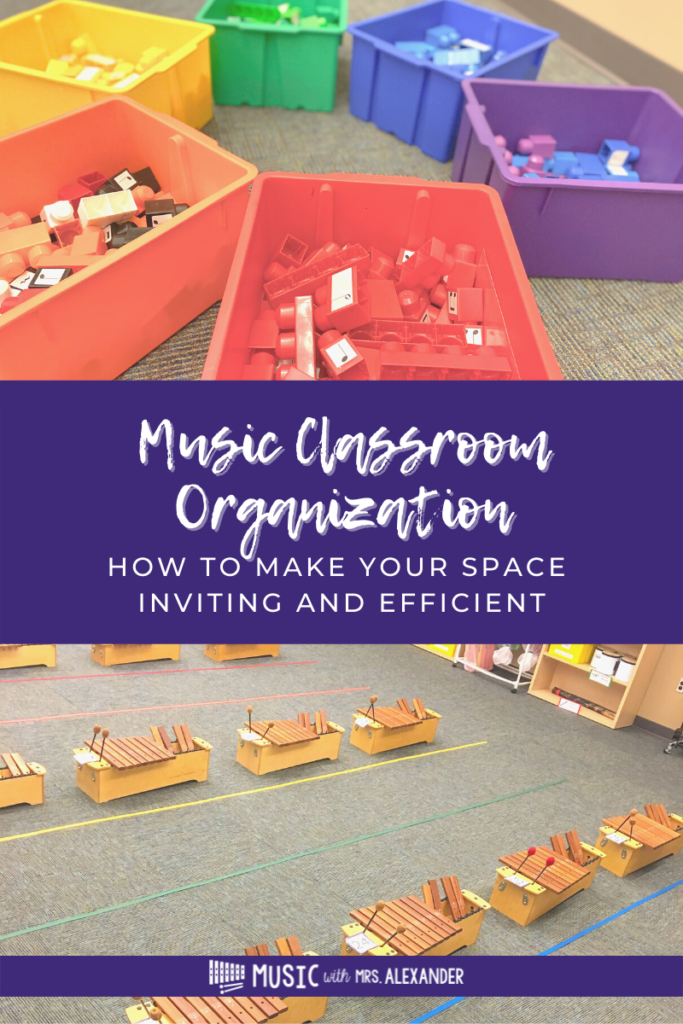
In your typical elementary music classroom, keeping instruments organized is an issue most teachers face. I keep my Orff instruments in order by numbering them. Number labels go on the front and the top of each one. This makes it easy to keep track of each instrument’s extra bars. I store those in numbered ice cube bins from Walmart, which were $1.64 each.
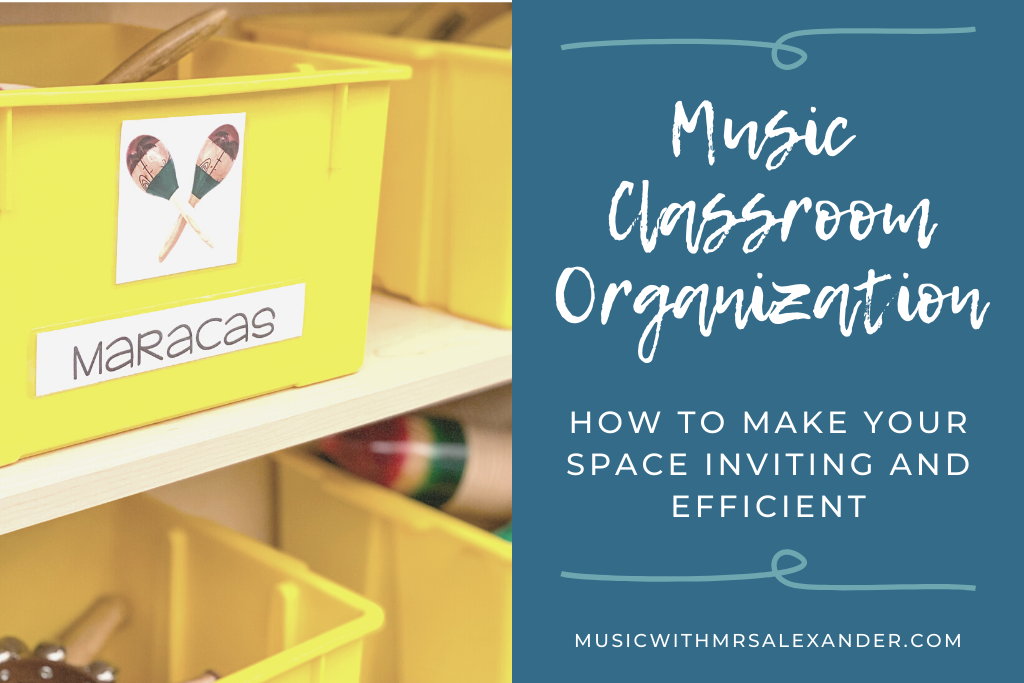
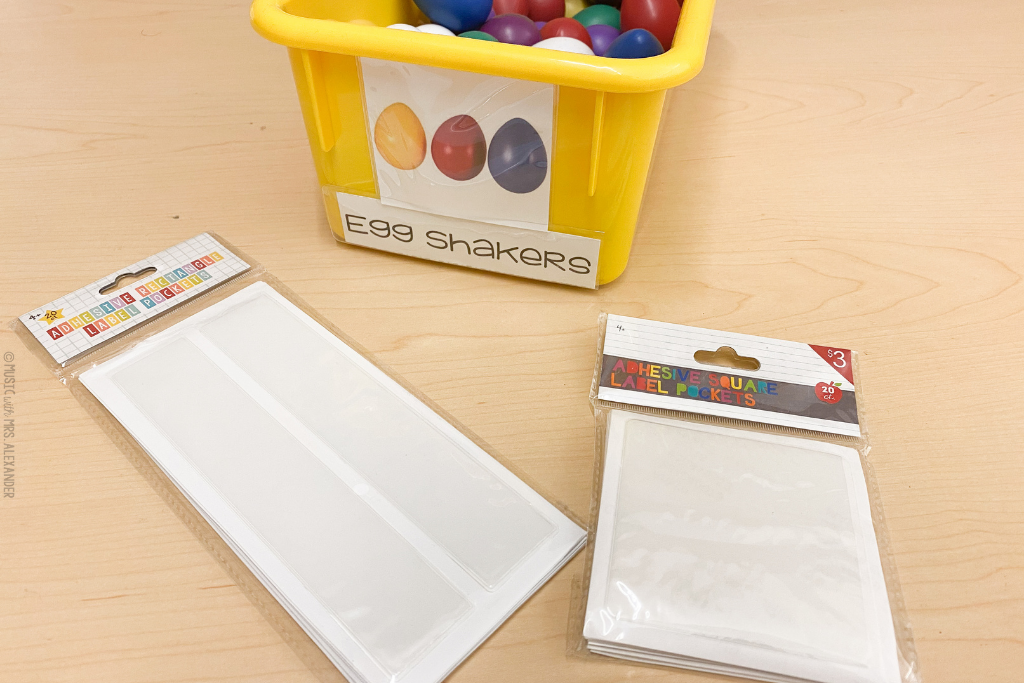
For smaller instruments, I use heavy-duty book bins from Lakeshore. I store them on two shelves in the back of the music room. If you don’t have Lakeshore money(😄), Dollar Tree bins work just fine! I used those for YEARS until my school purchased more durable ones. I attached clear pockets to the front and slipped the instrument pictures and names inside. For my youngest students, who are beginning readers, pictures are a huge help. If they cannot read the label, the pictures show them what’s in each bin.
Creating a Student-Friendly Orff Setup
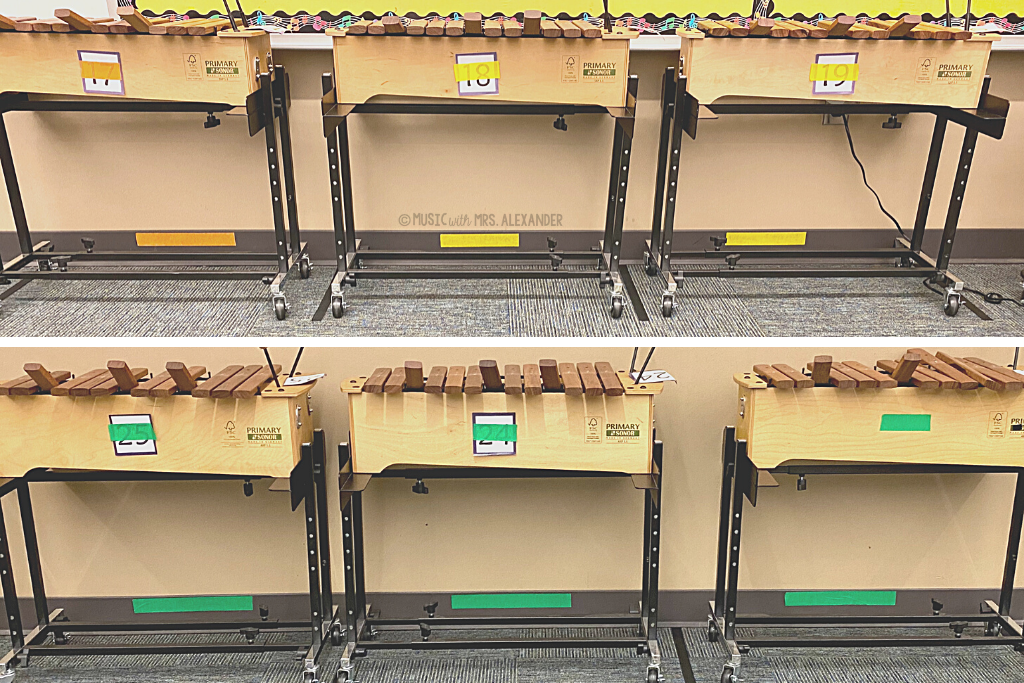
As with every other aspect of my classroom, color-coding makes setting up instruments for student use a breeze! I use colored masking tape to match our Orff instruments to the SitSpots I use for seating. They are set up in “parking spots” along the walls in the music room. When it’s time to play, my students already know which instrument to get! I also stick a piece of tape on the wall to help my students put them back in the correct place at the end of class. I don’t know why it took me so long to create this system, but it has saved me a lot of prep time. I’m not rushing to set up instruments before school or between classes. My students can set up and put away the Orff instruments with very little help from me.
Another way I make instrument storage accessible for my students is by putting out the instruments we need for class on tables they can reach. When it’s time to play, they can get what they need from the table. When music is over, they put everything away. This also helps the lesson move faster because I don’t have to pass out instruments…and we all know how important it is to keep the lesson momentum going!
Organizing Class Materials
Besides instruments, music teachers often have other materials they need for class each day. I am constantly on the hunt for inexpensive bins and containers that can be used to store other small classroom supplies. A few of my favorite places are Michael’s, Target (Dollar Spot, anyone?!), Dollar Tree, Big Lots, and Walmart. I try to buy containers that match the rainbow scheme in my classroom, but black and white ones are also great for a uniform look. Here are some examples of supply storage in my music classroom:
- Staff paper and counting squares in paper trays from Target. The smaller containers are from Dollar Tree.

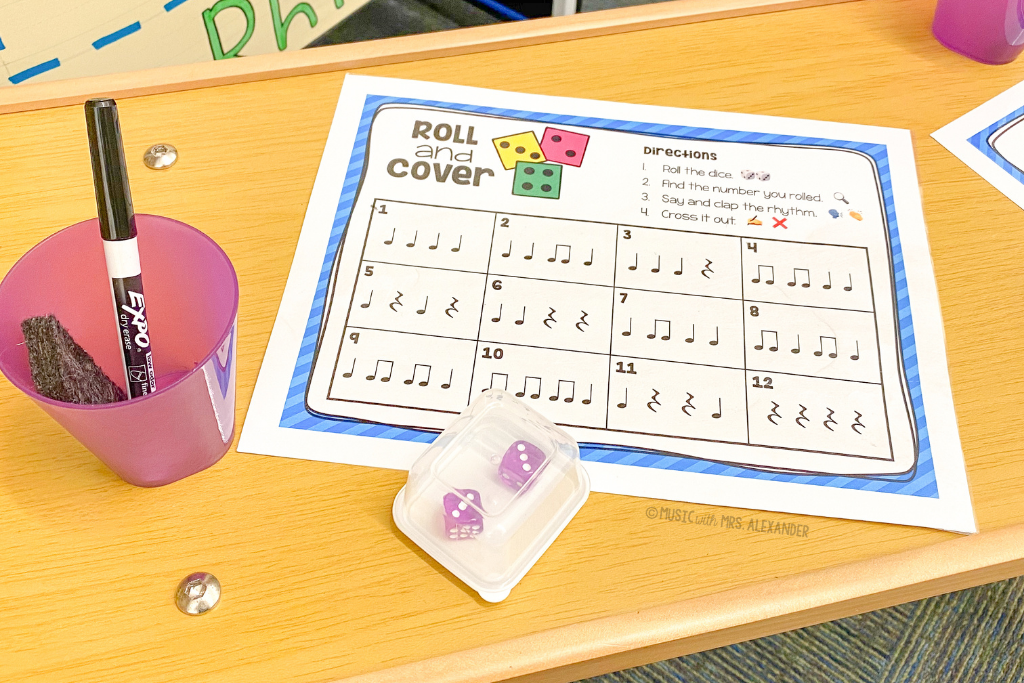
- Dice in clear containers from Dollar Tree
- Dry erase markers and erasers in cups from Walmart
- Say It-Build It-Write It station materials in tiny supply caddies from Target (I’ve also seen these at Dollar Tree recently)
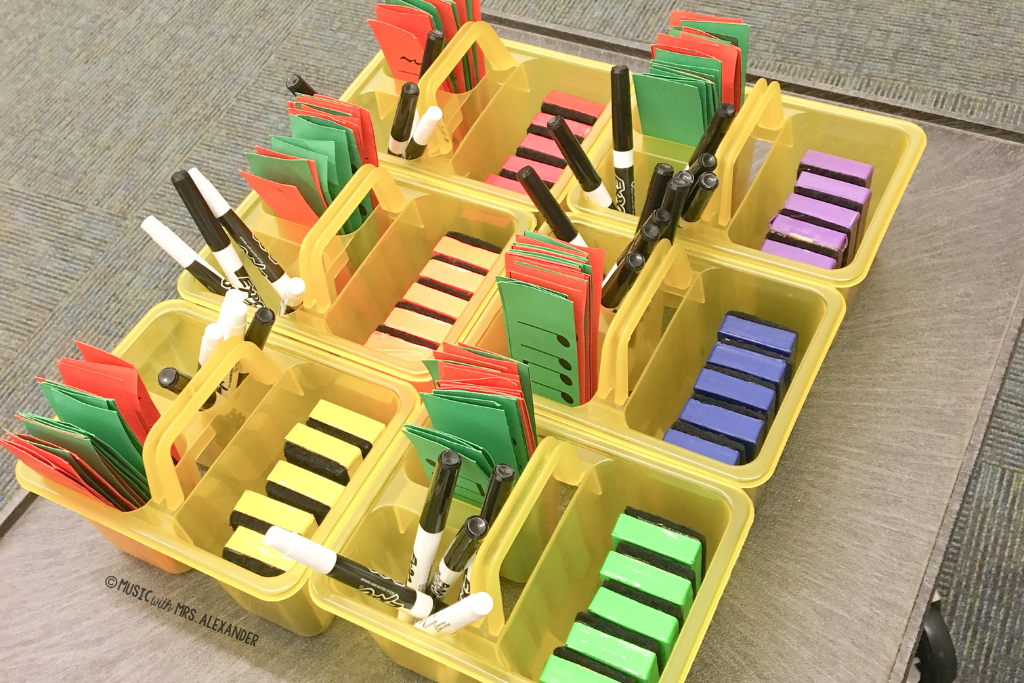
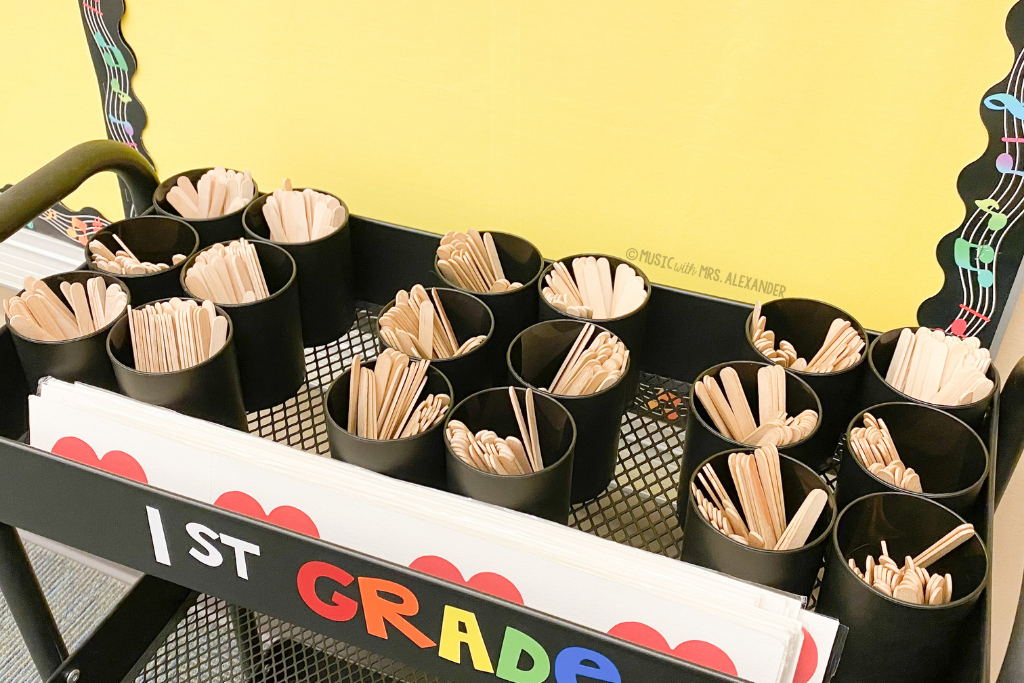
- Craft sticks (for rhythm decoding) in cups from Target
- Rhythm blocks in heavy-duty book bins from Lakeshore
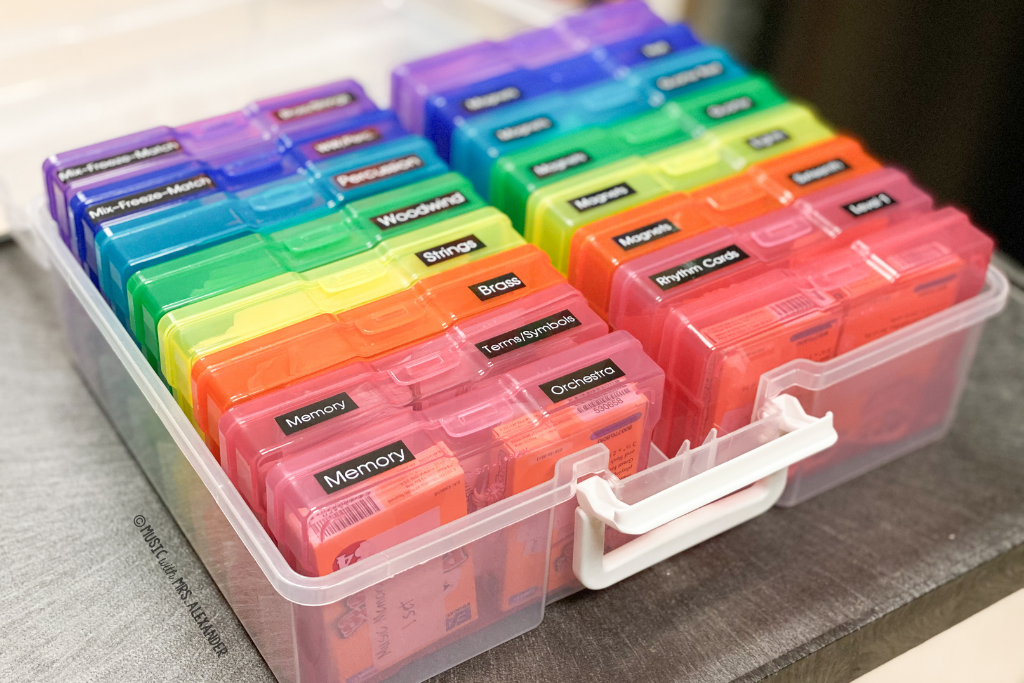
- Flashcards in photo storage containers from Michael’s
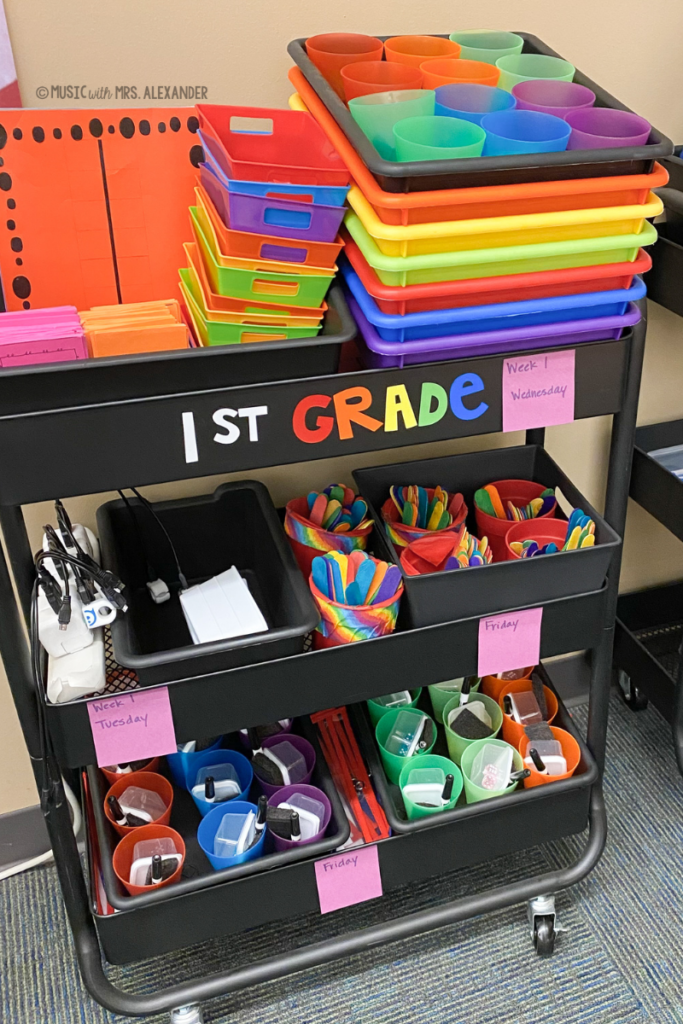
These extra-wide carts from Target have come in handy for keeping everything organized throughout the week. I have one for each grade level. I fill the carts with our materials on Monday, and my students grab what they need throughout the week. The labels on the front let them know which one is theirs. Accessible storage means my students can be responsible for setup and clean-up!
Keeping Tabs on Technology
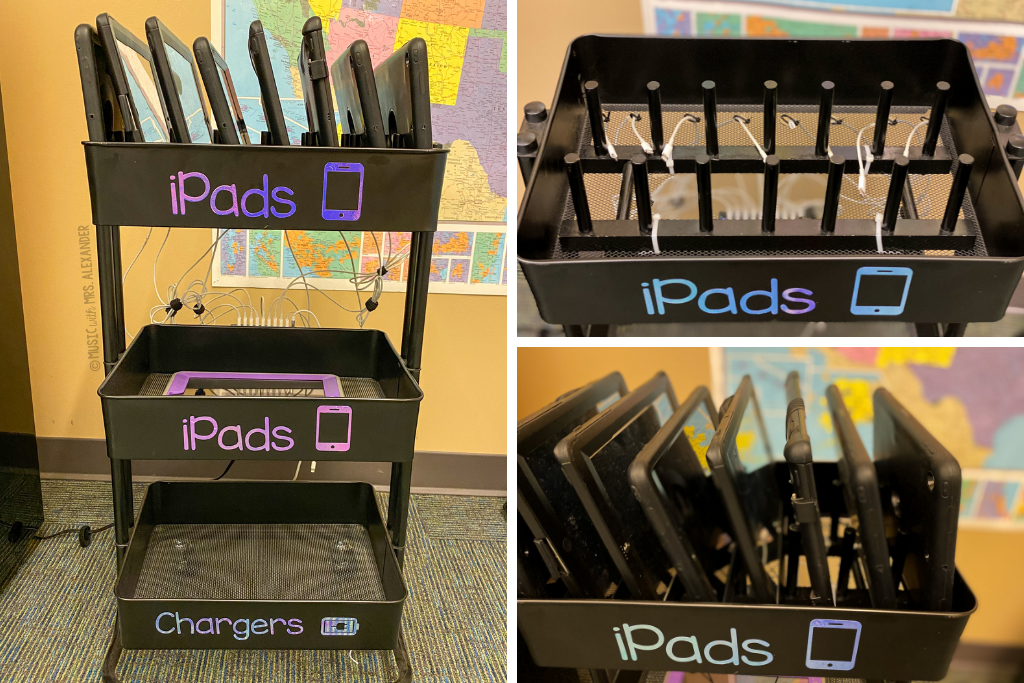
Device storage is another area that some music teachers have to consider in their music rooms. Not only do these devices need a home, but they also need a space that’s accessible to an outlet for charging. For my iPads, I created two storage carts inspired by this post from Michelle at I’m the DIY Teacher. The carts are the three-tier rolling carts from Michael’s. I added a bamboo dish rack to the top and drilled holes for charging cables. The multi-port charger, which can charge ten devices at once, is held on by heavy-duty command strips. Best of all, I can unplug and roll this cart anywhere in the room! One of them is set up in front for the red, orange, and yellow groups. The other is in the back for green, blue, and purple. My students can quickly grab their iPads and return them when finished.
Our school uses Seesaw as their online learning platform, so I also need to keep up with the QR codes my students use to log in. I print multiple copies of each class’ code with the teacher’s name on top. Four login stations are set up around the room on music stands. After getting their iPads, my students open the Seesaw app and go to the nearest login station to scan their QR codes. Having multiple stations makes logging in much quicker and keeps my students from crowding around a single QR code.
Organizing…students?
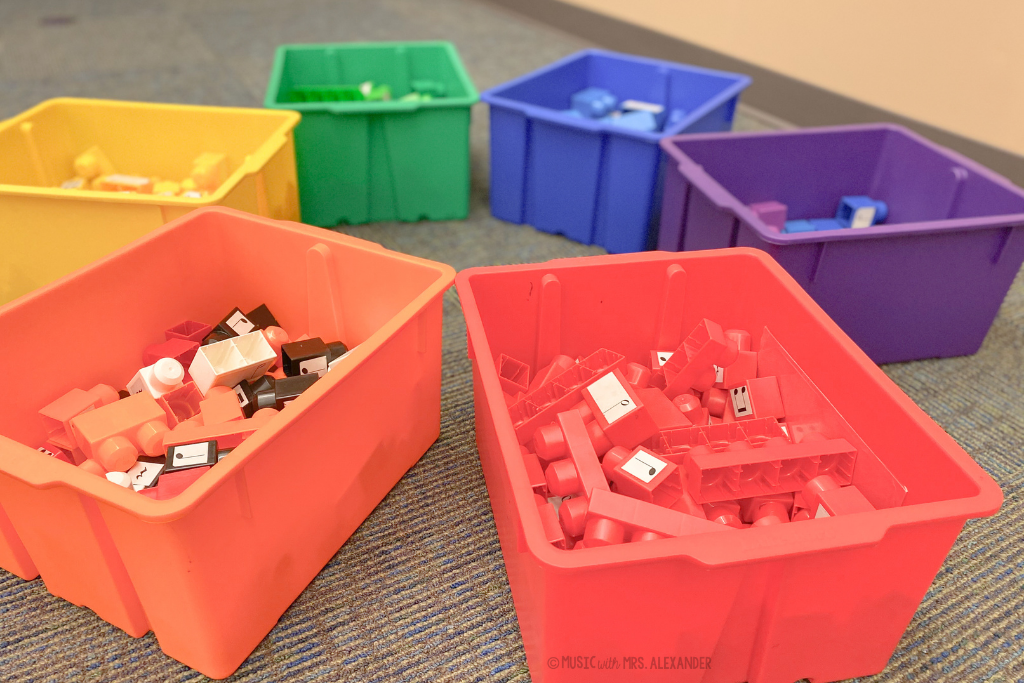
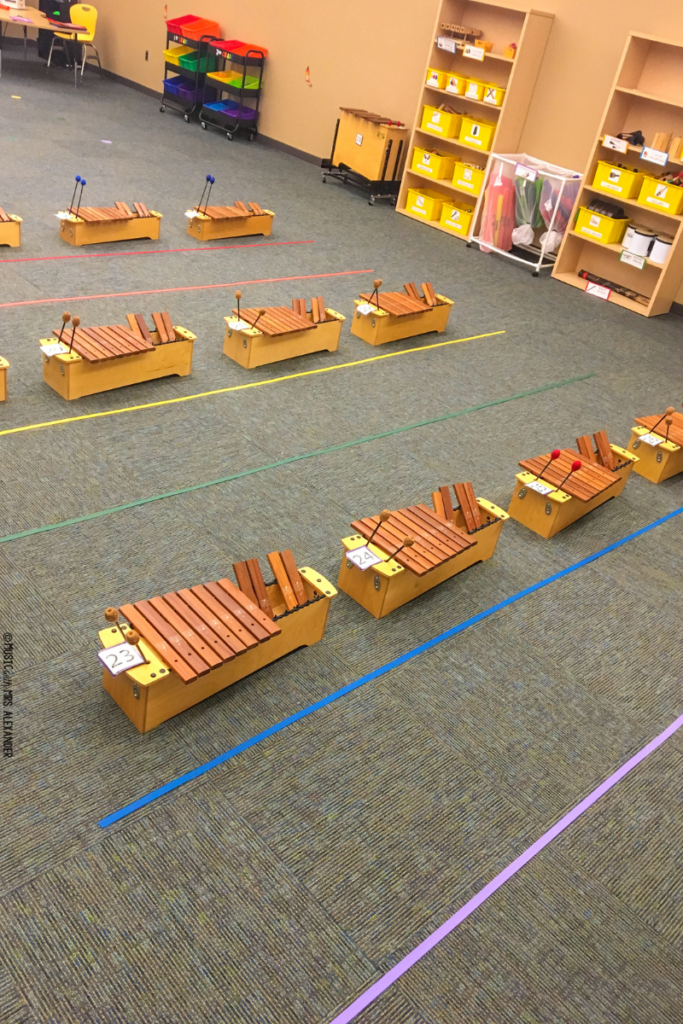
Sounds strange, but yes, elementary music teachers probably need a system for organizing their students! SitSpots are my favorite tool for easily grouping my students and marking off spaces in the classroom (read more about how I use them here). I keep a few different shapes of SitSpots on hand in my six group colors–red, orange, yellow, green, blue, and purple. They help me quickly send students to a specific instrument or have them pick up materials for an activity. For example, in this Orff setup, I used the lines to help my students rotate. They start on the line that matches their group color. There are two students at each instrument–one playing and one waiting. When it’s time to switch, the entire group moves up one line. Purple to blue, blue to green, green to yellow, and so on. I especially like this system when I have limited quantities of a particular instrument. I only have three bass xylophones, so a setup like this allows every student a chance to play one. We all know how popular “the big instruments” are in the music room!
I also use the black SitSpots dots for lining up at the end of class. I used a Sharpie paint pen to number each dot from 1-24. The line leader and caboose each have a red octagon, and the door holder gets a yellow triangle. This is a HUGE help for the littles because everyone has a dot, and there’s no arguing over who stands where!
Keeping Track of Student Data with iDoceo
I teach around 800 students in two grades in 38(!) classes. With that many kids, I definitely need a system for organizing individual student data or any other important information. My first task every year is to create an Excel spreadsheet for each class. I can typically download this directly from the district’s online gradebook and then tweak it to meet my needs. Once my spreadsheets are created, I can use them to create a mail merge in Word for any documents I need to make–labels, notes home, rubrics, etc.
I also use these spreadsheets to upload information to iDoceo. For those not familiar with this app, it’s essentially a grade book with additional features. Once my data is uploaded, I can search for a specific student across all of my classes, something I can’t do with our district’s gradebook software. I can create a rubric and copy it to all sections in a grade level for assessment. Grading is a snap–just a few taps and data is recorded and averaged. The app also has a seating chart feature that I’m playing around with this year. I can rearrange students by dragging and dropping them to a new spot, which is much easier than my current system in PowerPoint. When I purchased it five years ago, the entire iDoceo suite was about $12 in the App Store. Best $12 I’ve ever spent!
I hope these tips have given you a starting point for creating a music classroom organization plan that works for you. I could not function without these systems and processes that keep my music room running smoothly. Remember, organizing your elementary music classroom doesn’t have to be complicated or expensive. Just make sure it fits your needs and the needs of your students!
Looking for a way to organize your planning and create a sequential elementary music curriculum? Check out this post and download your FREE K-2 sample scope and sequence here!
One Response